
Install Ubuntu 18.04 Server on btrfs
Btrfs is an advanced file system. It supports compression, keeps checksums on every block and you can make snapshots.
Why btrfs?
Checksums
Hard disks and SSDs are physical devices that can break. A bit can flip and a 0 becomes a 1. It's rare and if that happens to a picture our sound file, you might never notice, but some files might break. If that happens to a file that you rarely use, you might not find years later. Even if you keep regular backups, the broken version will eventually replace your backup.
Btrfs and ZFS keep calculate checksums for each and every block. If the checksum does not match, your block is broken. In a raid1 (mirror), you can use the block from the mirrored disk and you fix the error.
The command
$ btrfs scrub start /mnt/yourbtrfdisk
will do just that by going over your entire disk, verifying the checksums.
Checksums make raid so much more useful. Filesystems without checksums can compare both disks and tell you if something is broken and they don't match, but they can't tell you which one has the correct data. If a disk fails really badly, you know which one to replace, but with SSDs, there might be sneaky errors.
Snapshots
Creating versioned backups of the current state of your files can be time and space consuming. Snapshots create an instant copy of your system. You don't have to stop processes, daemons, VMs.
Those snapshots can be sent and received. You can create a snapshot, copy it to another disk or computer. The snapshot only takes up space if there are differences to other snapshots.
Installing on Ubuntu Server 18.04 Bionic Beaver
Unfortunately, Ubuntu 18.04 Server does not have an option to install on btrfs raid1.
This is a walk through of the installation based on this https://www.cloud3cola.com/ubuntu-server-18-04-btrfs-raid1/ howto, this is a walkthrough of my installation process:
I downloaded the image file and created a USB-Stick from which I boot.
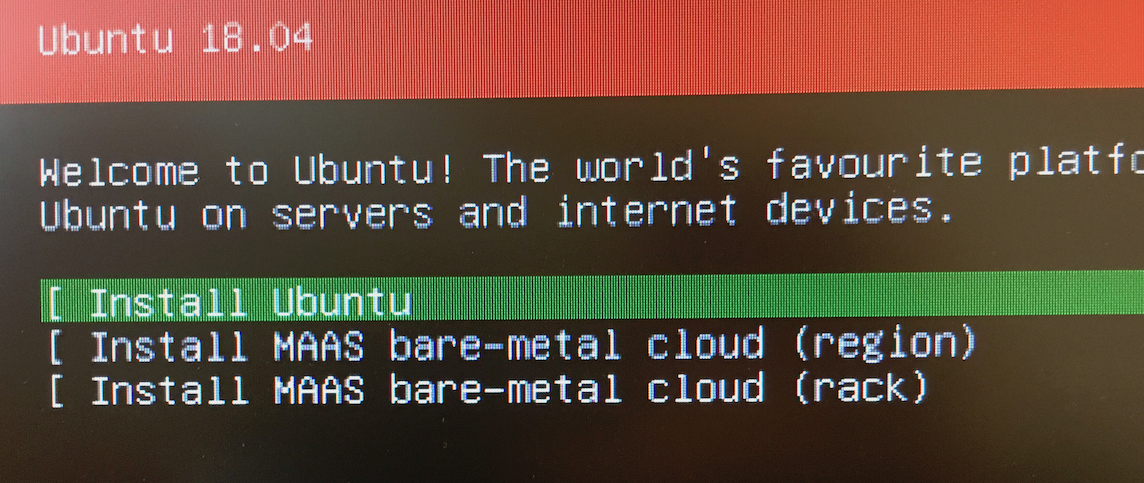
I select "English" as my language and choose my keyboard layout. Then I choose Install Ubuntu from the menu.
Network configuration works. I keep the default archive mirror.
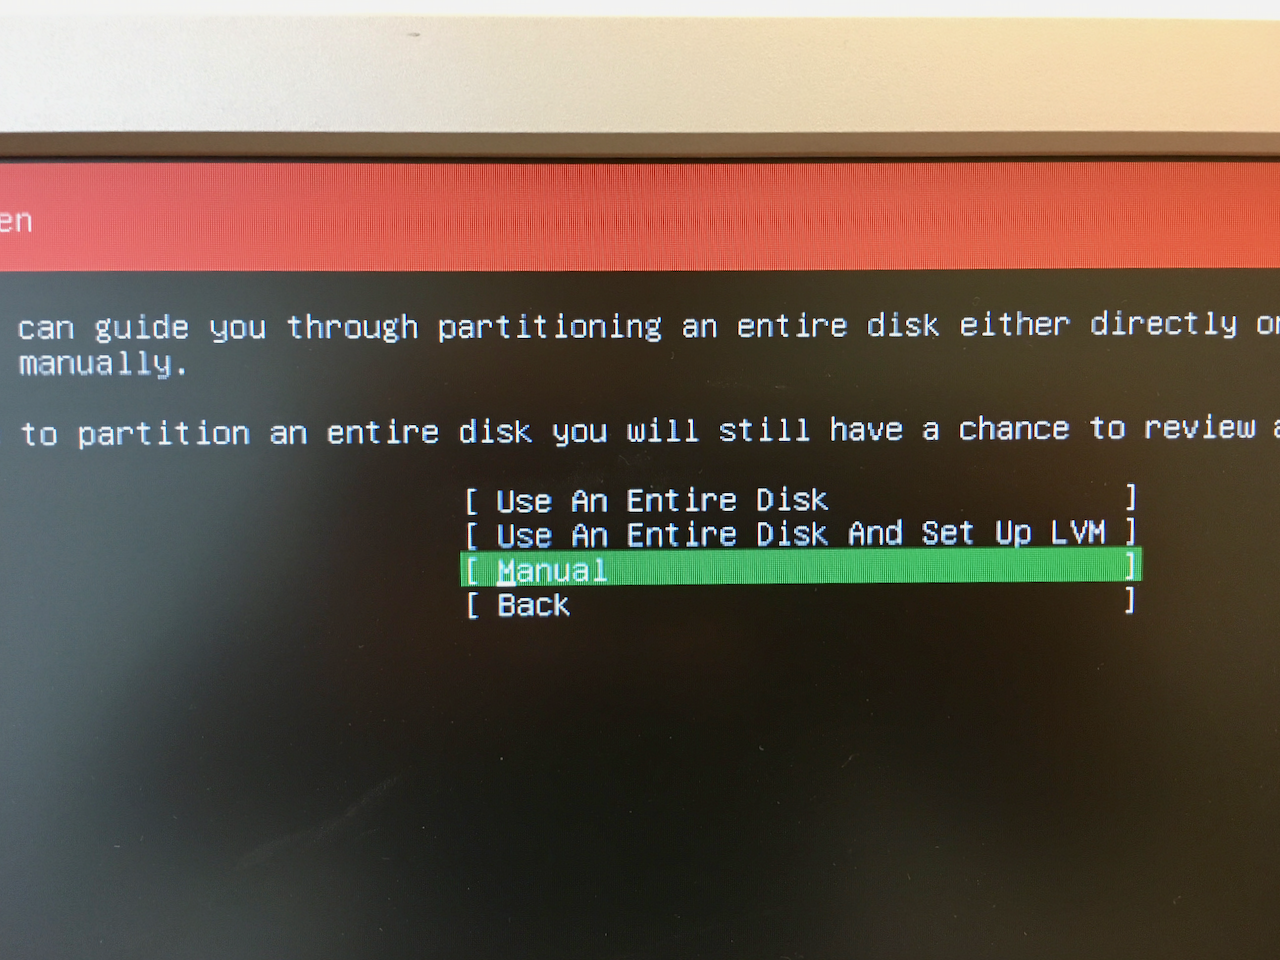
When the installer asks about how you want to partition your disks, I choose manual.
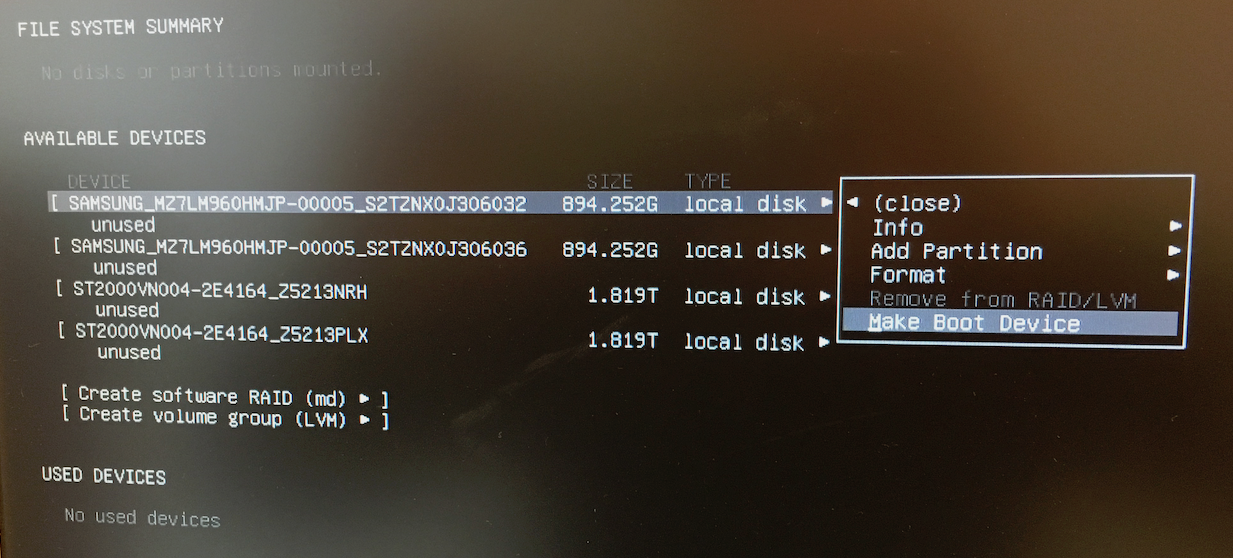
I have four disks. Two are SSDs that I want to put the operating system on, the other two are regular hard drives for backup purposes.
I choose the first SSD and make it my boot device
The result looks like this:
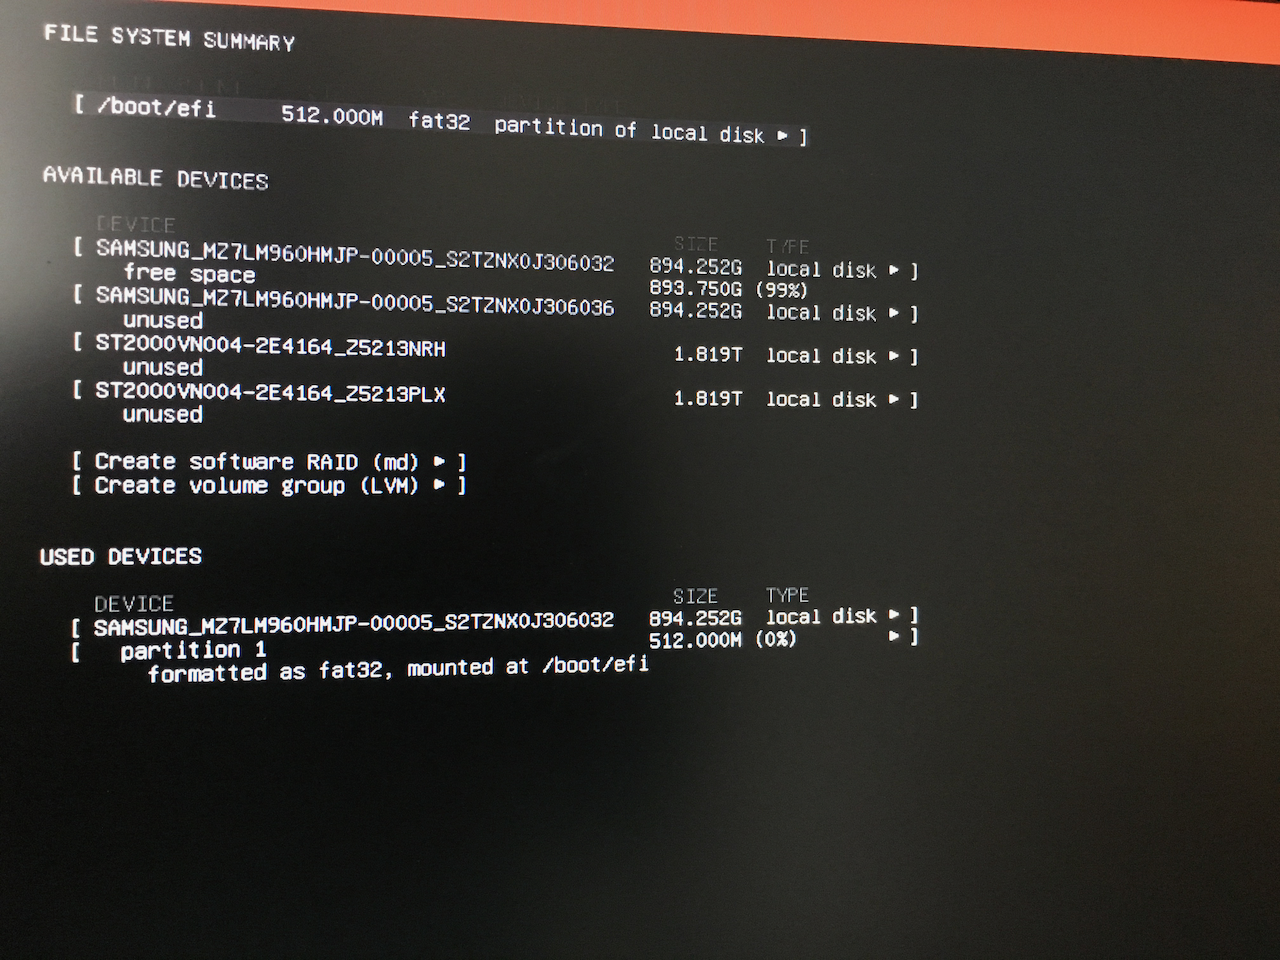
Then I add another partion:

I leave the size-field empty so the partition uses the remaining free space of the disk. The format is btrfs and the Mount point is /
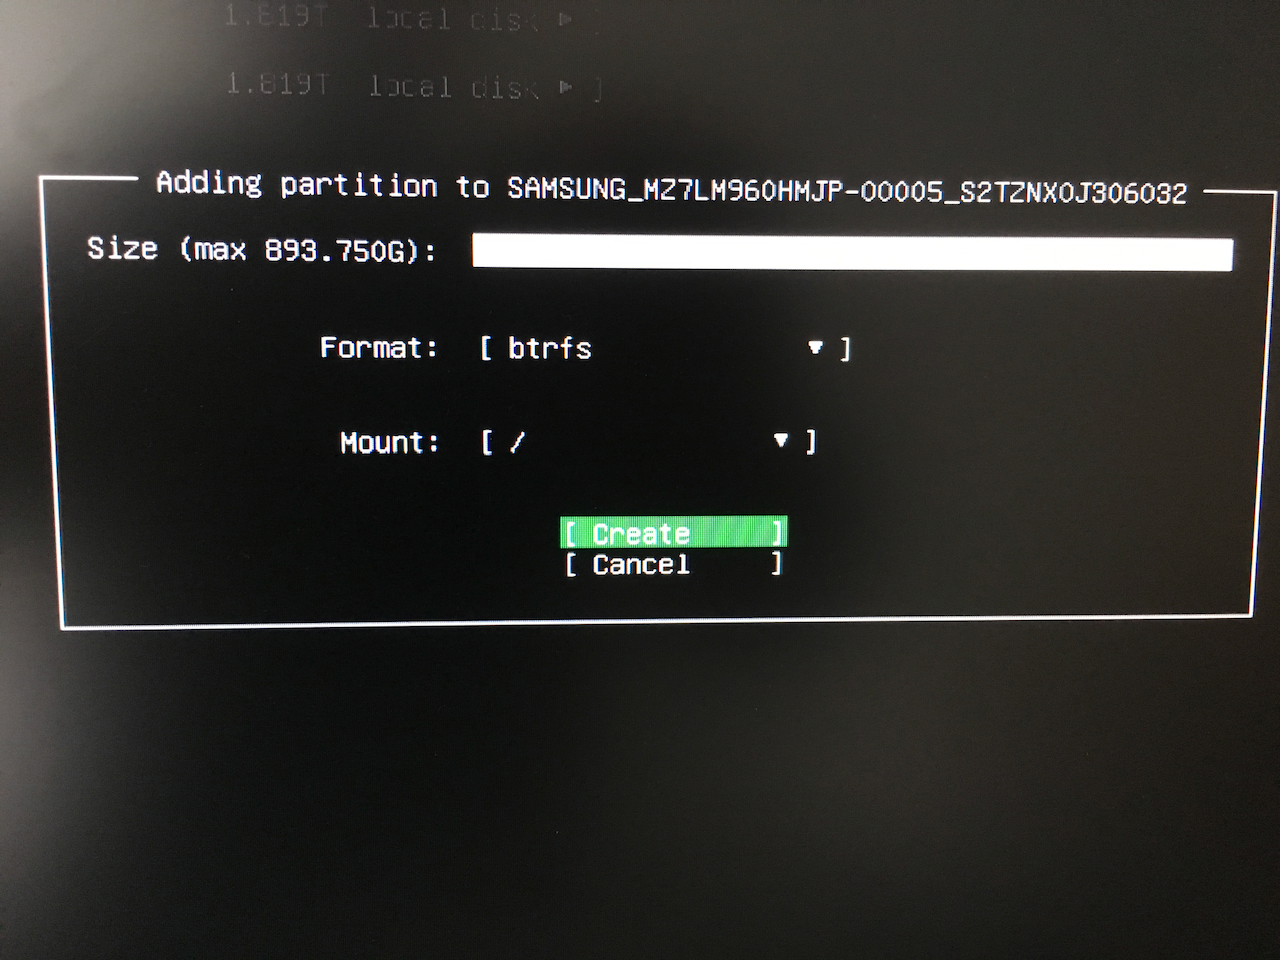

I can't choose raid, yet. I will do this manually in a few moments.
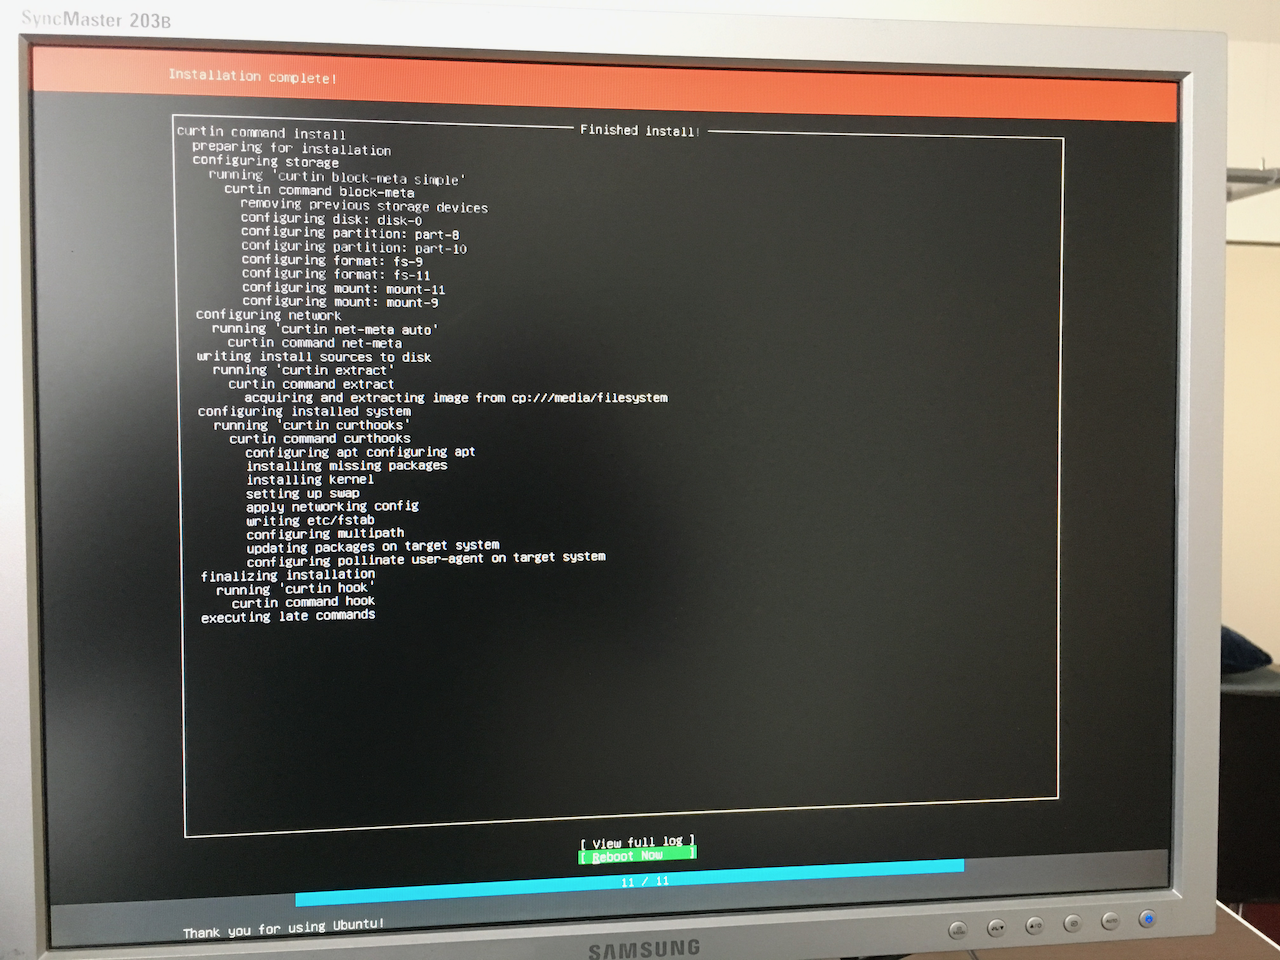
DO NOT REBOOT
After the installation is complete DO NOT REBOOT. You may enter your username and password, but for now press Alt+F2 to switch to a linux console.
Here I become root by
$ sudo -i
and look at my devices with
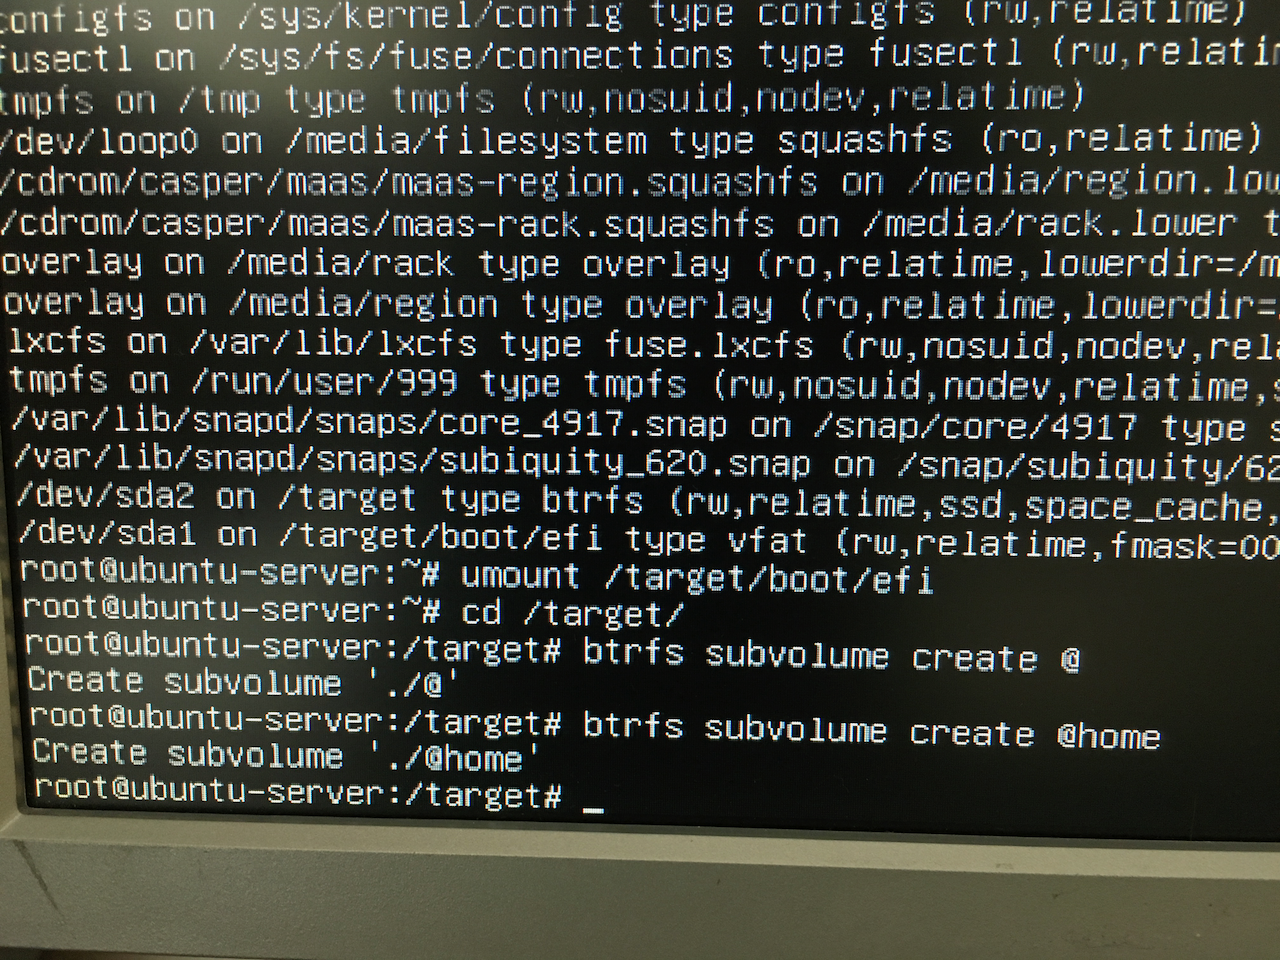
mount -l

Notice that my future filesystem is mounted as /target/ and /target/boot/efi
I don't need efi right now and unmount it.
$ umount /target/boot/efi
Then I go into the /target directory and create my first btrfs subvolumes. @ will be used for / and @home will be /home/
$ cd /target/
$ btrfs subvolume create @
$ btrfs subvolume create @home
Then I move all my files and folders into the new @-subvolume
mv -t @ b* d* e* h* i* l* m* o* p* r* s* t* u* v*
Now /target only holds the subvolumes @ and @home.

Now it's time to mount the new subvolume as /target
$ umount /target
$ mount -o compress=lzo,ssd,noatime,nodiratime,space_cache,discard,subvol=@ /dev/sda2 /target
$ mount -o compress=lzo,ssd,noatime,nodiratime,space_cache,discard,subvol=@home /dev/sda2 /target/home
$ mount /dev/sda1 /target/boot/efi
$ mount --bind /proc /target/proc
$ mount --bind /dev /target/dev
$ mount --bind /sys /target/sys
Then I need to know the UUID of my disks
lsblk -l
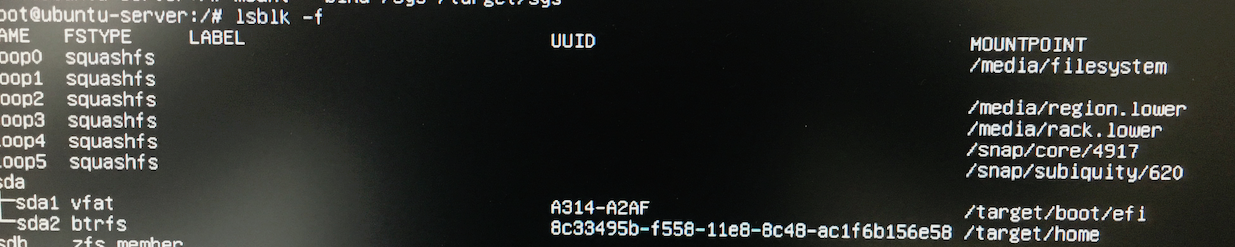
Now I switch to a third window by pressing Alt+F3 and make /target my new /.
$ sudo -i
$ chroot /target/
$ nano /etc/fstab
I change fstab so it mounts the subvolumes at the right mount points and the whole volume at /mnt/btrfs_ssd
UUID=xxxxx / btrfs compress=lzo,noatime,nodiratime,space_cache,ssd,discard,subvol=@ 0 0
UUID=xxxxx /home btrfs compress=lzo,noatime,nodiratime,space_cache,ssd,discard,subvol=@home 0 0
UUID=xxxxx /boot/efi vfat umask=0077 0 1
UUID=xxxxx /mnt/btrfs_ssd  btrfs compress=lzo,degraded,noatime,nodiratime,space_cache,ssd,discard     0 0
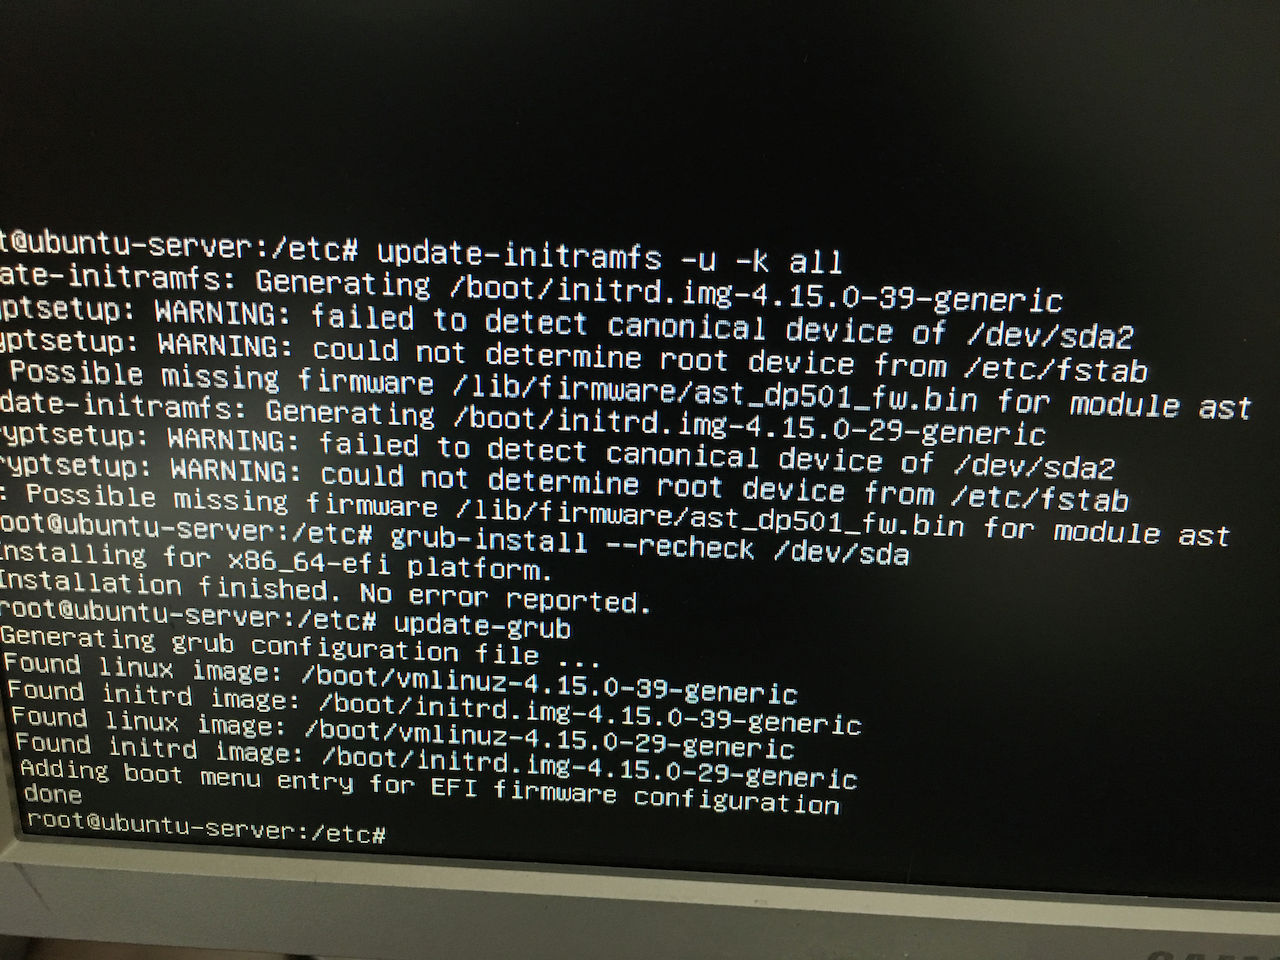
Now I setup the bootloader
$ update-initramfs -u -k all
$ grub-install --recheck /dev/sda
$ update-grub
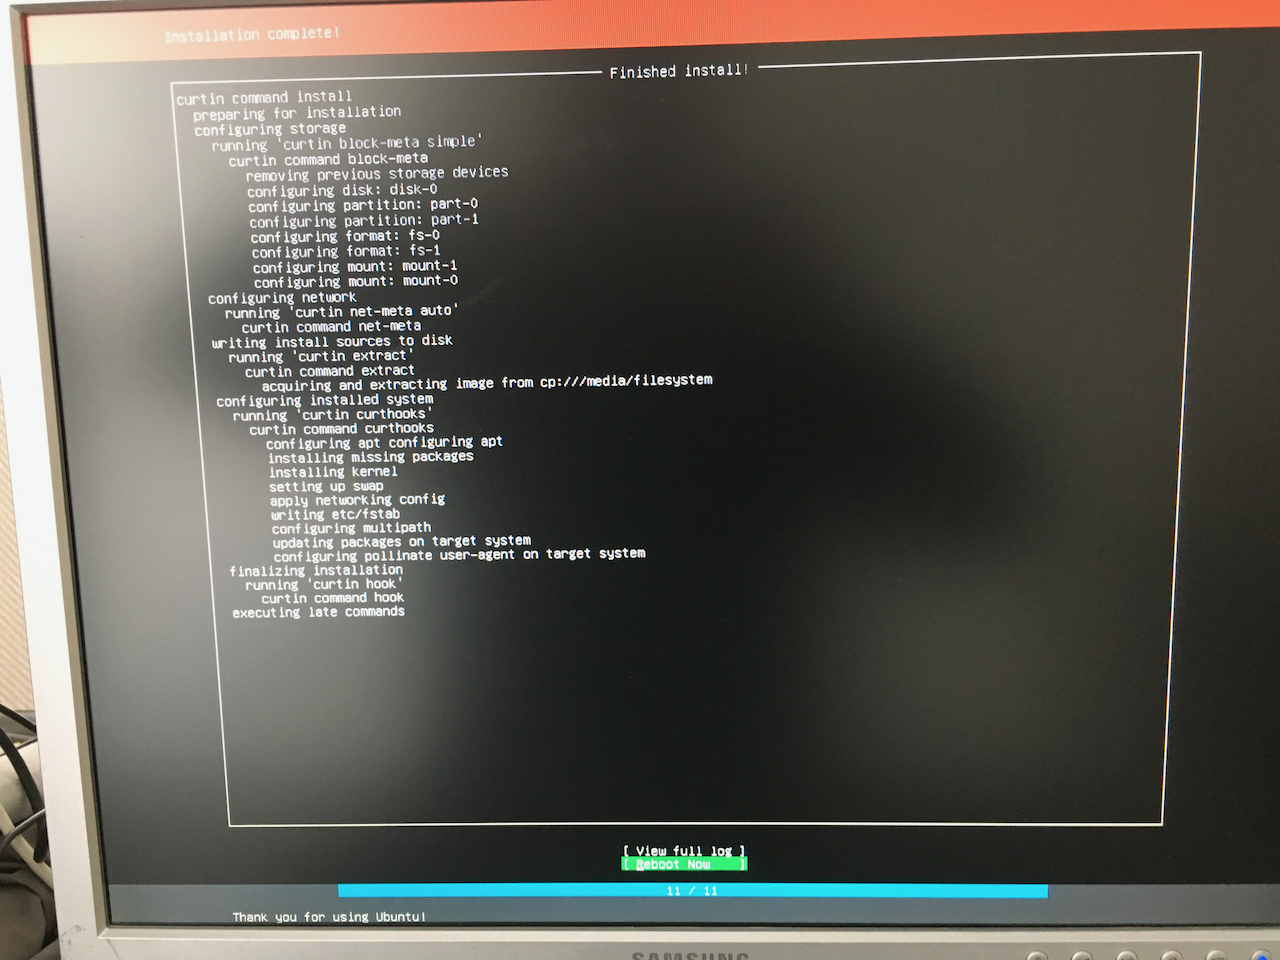
Then I press Alt+F1 to get back to the installation screen and finally reboot.
The system boots just fine and needs some system updates. Time to try out my first snapshot. Just in case the update ruins something
$ sudo -i
$ mkdir /mnt/btrfs_ssd/snapshots/
$ btrfs subvolume snapshot -r / /mnt/btrfs_ssd/snapshots/@afterinstall
Now I can upgrade my system
$ apt upgrade
The howto I'm following at https://www.cloud3cola.com/ubuntu-server-18-04-btrfs-raid1/ mentions installing zram-config, but that does not work because Ubuntu 18.04 apparently comes with zram preconfigured.
Raid1
So far, I have only used one of my two SSD-drives. It's time to turn them into a raid.
Boot Partition on second drive
I want the system to be able to boot even if the first disk fails completely. That means, I need a boot partion on /dev/sdb, too.
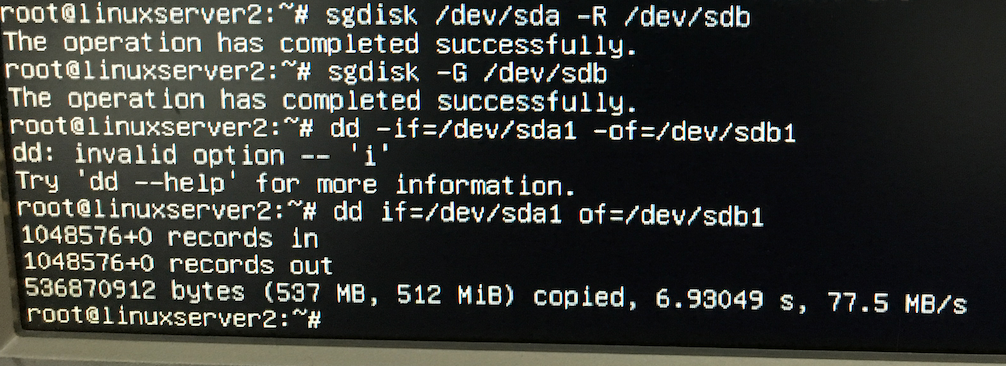
First, I clone the partition table of my first drive and then I copy the first partition over using the dd command. Be sure to get the device names right!
$ sgdisk /dev/sda -R /dev/sdb
$ dd if=/dev/sda1 of=/dev/sdb1
Now I take a look at the efi config and use the info to create a new entry for my second boot device. Notice the backslashes
$ efibootmgr -v
$ efibootmgr -c -d /dev/sdb -p 1 -L "ubuntu2" -l \EFI\UBUNTU\SHIMX64.EFI
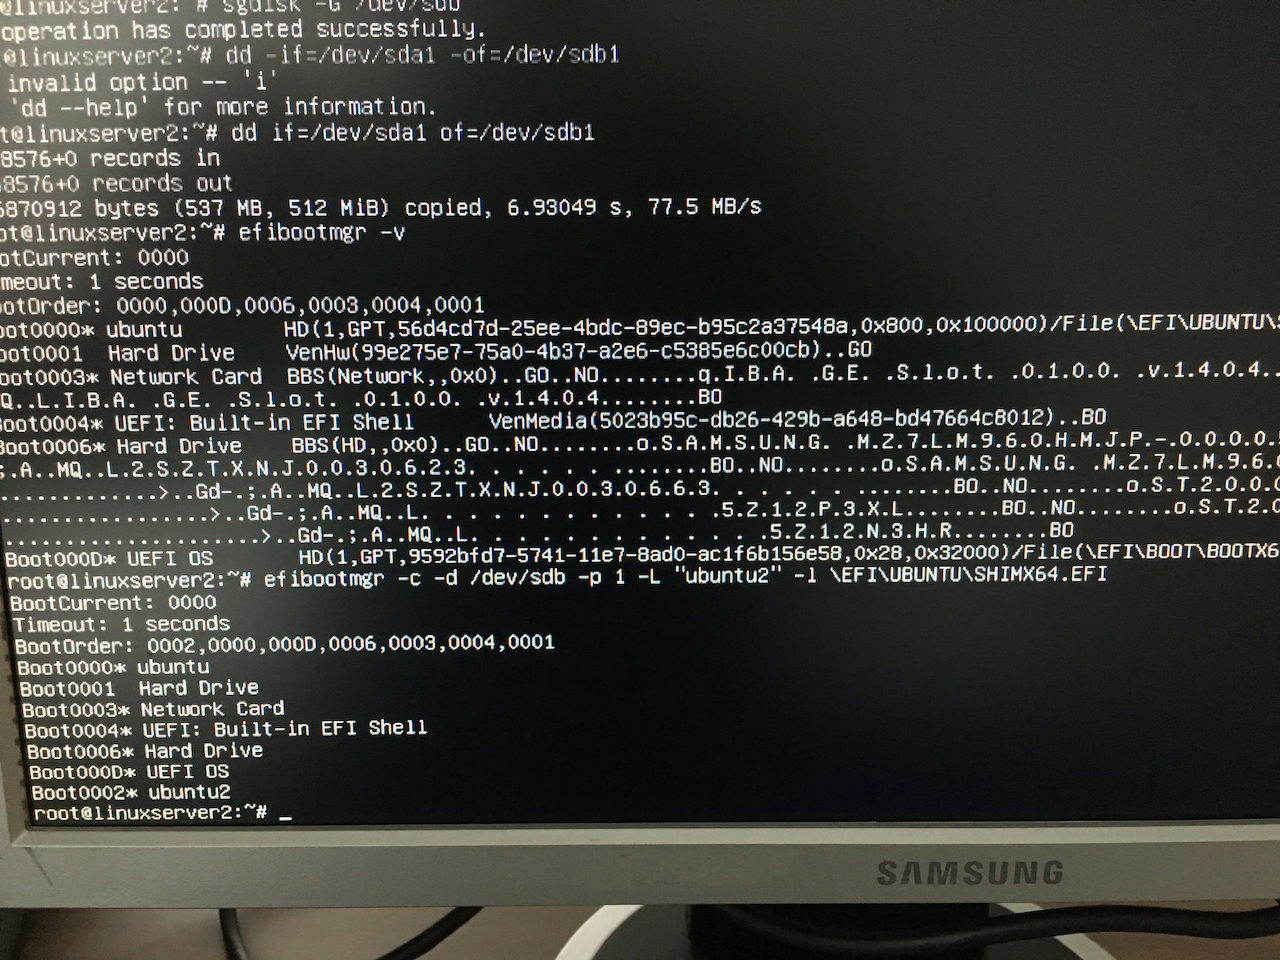
Now grub needs to learn about the additional boot partition, so system updates will recognize it
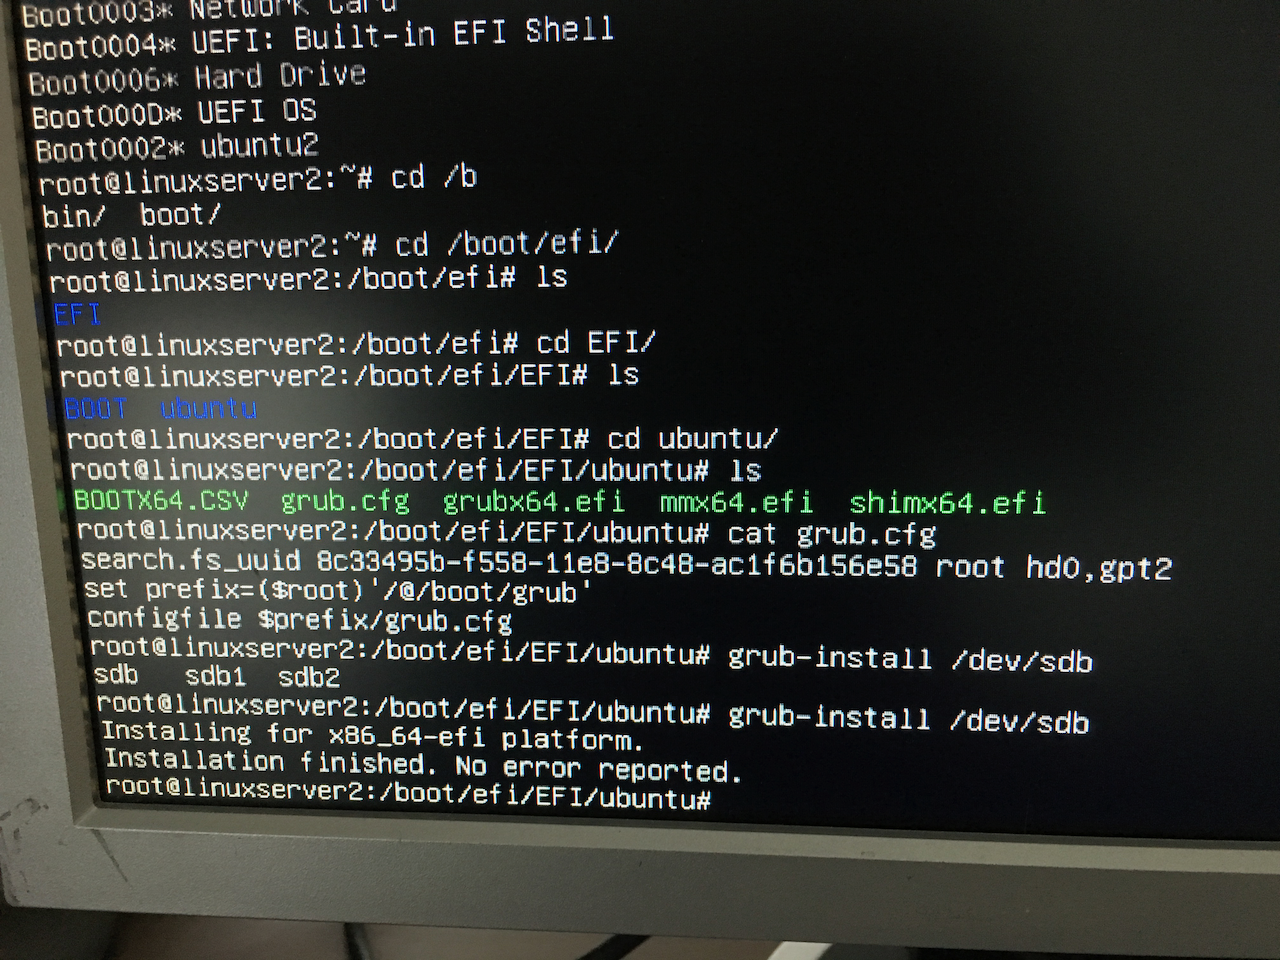
$ grub-install /dev/sdb
I rebooted the system to see if it still works and it does. Right now we still don't have a raid, yet.
Add the second drive into the raid
$ btrfs device add -f /dev/sdb2 /
$ btrfs fi show /
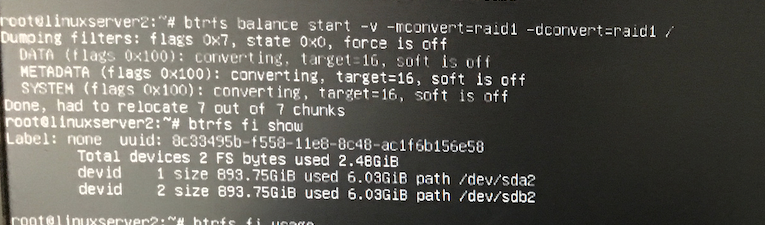
$ btrfs balance start -v -mconvert=raid1 -dconvert=raid1 /
$ btrfs fi usage /
This might take a while because the data needs to be copied.
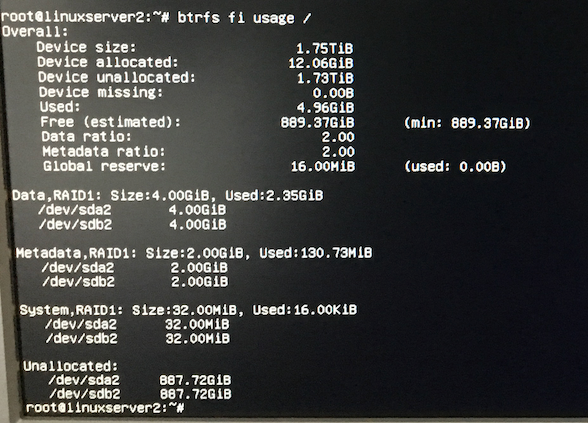
That's it. I have server with plenty of free space running on btrfs raid.
Boot in degraded mode
I want my server to boot even if one of the two drives fail.
I found this https://seravo.fi/2016/perfect-btrfs-setup-for-a-server tutorial and
Grub
$ sudo emacs /etc/grub.d/10_linux
The rootflags argument is in line 79. I change it to
GRUB_CMDLINE_LINUX="rootflags=degraded,subvol=${rootsubvol} ${GRUB_CMDLINE_LINUX}"
and run
$ sudo update-grub
Generating grub configuration file ...
Found linux image: /boot/vmlinuz-4.15.0-39-generic
Found initrd image: /boot/initrd.img-4.15.0-39-generic
Found linux image: /boot/vmlinuz-4.15.0-29-generic
Found initrd image: /boot/initrd.img-4.15.0-29-generic
Adding boot menu entry for EFI firmware configuration
done
$ sudo grub-install /dev/sda
Installing for x86_64-efi platform.
Installation finished. No error reported.
$ sudo grub-install /dev/sdb
Installing for x86_64-efi platform.
Installation finished. No error reported.
fstab
Then I edit the /etc/fstab and add the degraded option
UUID=8c33495b-f558-11e8-8c48-ac1f6b156e58 /     btrfs compress=lzo,degraded,noatime,nodiratime,space_cache,ssd,discard,subvol=@     0 1
UUID=8c33495b-f558-11e8-8c48-ac1f6b156e58 /home btrfs compress=lzo,degraded,noatime,nodiratime,space_cache,ssd,discard,subvol=@home 0 2
UUID=A314-A2AF /boot/efi vfat umask=0077 0 1
test with only one boot-drive
To test this, I shutdown my server, disconnect /dev/sdb and boot. It works!
$ sudo btrfs fi sh
Label: none  uuid: 8c33495b-f558-11e8-8c48-ac1f6b156e58
	Total devices 2 FS bytes used 2.65GiB
	devid    1 size 893.75GiB used 6.06GiB path /dev/sda2
	*** Some devices missing
Next, I shut down and try what happens after I reconnect /dev/sdb. Does the system balance automatically?
$ sudo btrfs fi sh
Label: none  uuid: 8c33495b-f558-11e8-8c48-ac1f6b156e58
	Total devices 2 FS bytes used 2.65GiB
	devid    1 size 893.75GiB used 6.06GiB path /dev/sda2
	devid    2 size 893.75GiB used 4.03GiB path /dev/sdb2
Strangely the second drive holds 2 GB less. Unfortunately, I have not looked at this before. I run a scrub to fix errors
$ sudo btrfs scrub start /
$ sudo btrfs scrub status /
scrub status for 8c33495b-f558-11e8-8c48-ac1f6b156e58
	scrub started at Mon Dec  3 11:58:44 2018 and finished after 00:00:06
	total bytes scrubbed: 5.30GiB with 1 errors
	error details: csum=1
	corrected errors: 1, uncorrectable errors: 0, unverified errors: 0
~~

That was quick.

~~~sh
btrfs fi usage /
Overall:
    Device size:		   1.75TiB
    Device allocated:		  14.09GiB
    Device unallocated:		   1.73TiB
    Device missing:		     0.00B
    Used:			   5.30GiB
    Free (estimated):		1014.49GiB	(min: 887.82GiB)
    Data ratio:			      1.75
    Metadata ratio:		      1.75
    Global reserve:		  16.00MiB	(used: 0.00B)

Data,single: Size:1.00GiB, Used:228.00KiB
   /dev/sda2	   1.00GiB

Data,RAID1: Size:3.00GiB, Used:2.52GiB
   /dev/sda2	   3.00GiB
   /dev/sdb2	   3.00GiB

Metadata,single: Size:1.00GiB, Used:0.00B
   /dev/sda2	   1.00GiB

Metadata,RAID1: Size:3.00GiB, Used:131.48MiB
   /dev/sda2	   3.00GiB
   /dev/sdb2	   3.00GiB

System,single: Size:32.00MiB, Used:0.00B
   /dev/sda2	  32.00MiB

System,RAID1: Size:32.00MiB, Used:16.00KiB
   /dev/sda2	  32.00MiB
   /dev/sdb2	  32.00MiB

Unallocated:
   /dev/sda2	 885.69GiB
   /dev/sdb2	 887.72GiB
Comparing this to the previous screenshot, there is now Data,single and Metadata,single as well as System,single that hasn't been here before. Apparently, the raid did not heal well.
$ btrfs device stats /
[/dev/sda2].write_io_errs    0
[/dev/sda2].read_io_errs     0
[/dev/sda2].flush_io_errs    0
[/dev/sda2].corruption_errs  0
[/dev/sda2].generation_errs  0
[/dev/sdb2].write_io_errs    0
[/dev/sdb2].read_io_errs     0
[/dev/sdb2].flush_io_errs    0
[/dev/sdb2].corruption_errs  1
[/dev/sdb2].generation_errs  0
$ btrfs balance /
WARNING:

	Full balance without filters requested. This operation is very
	intense and takes potentially very long. It is recommended to
	use the balance filters to narrow down the scope of balance.
	Use 'btrfs balance start --full-balance' option to skip this
	warning. The operation will start in 10 seconds.
	Use Ctrl-C to stop it.
10 9 8 7 6 5 4 3 2 1
Starting balance without any filters.
Done, had to relocate 10 out of 10 chunks
Now it seems to work again. Despite the warning, it only took a few seconds to balance the two disks.
$ btrfs fi usage /
Overall:
    Device size:		   1.75TiB
    Device allocated:		   8.06GiB
    Device unallocated:		   1.74TiB
    Device missing:		     0.00B
    Used:			   5.30GiB
    Free (estimated):		 890.20GiB	(min: 890.20GiB)
    Data ratio:			      2.00
    Metadata ratio:		      2.00
    Global reserve:		  16.00MiB	(used: 0.00B)

Data,RAID1: Size:3.00GiB, Used:2.52GiB
   /dev/sda2	   3.00GiB
   /dev/sdb2	   3.00GiB

Metadata,RAID1: Size:1.00GiB, Used:131.50MiB
   /dev/sda2	   1.00GiB
   /dev/sdb2	   1.00GiB

System,RAID1: Size:32.00MiB, Used:16.00KiB
   /dev/sda2	  32.00MiB
   /dev/sdb2	  32.00MiB

Unallocated:
   /dev/sda2	 889.72GiB
   /dev/sdb2	 889.72GiB
Now let's check what happens when I disconnect /dev/sda and boot. Yes. That works, too. I reconnect both drives, boot and balance again. Looks like I have a good system.
To be continued
- cron job for scrub (integrity checks)
- cron job for snapshots and backups